How to Spot Bathroom Leaks Before They Lead to Tile Mold Remediation
Bathroom leaks that stay hidden inside walls or under flooring can cause serious damage long before you see any obvious signs. By the time mold appears on the surface or a stain spreads across the ceiling, the moisture may have been working for weeks. Catching these hidden issues early is the difference between a simple repair and a full tile mold remediation job. This article walks through the key points to check around your bathroom so you can catch hidden leaks before they turn into bigger problems.
Check the Ceiling Below or Adjacent Rooms
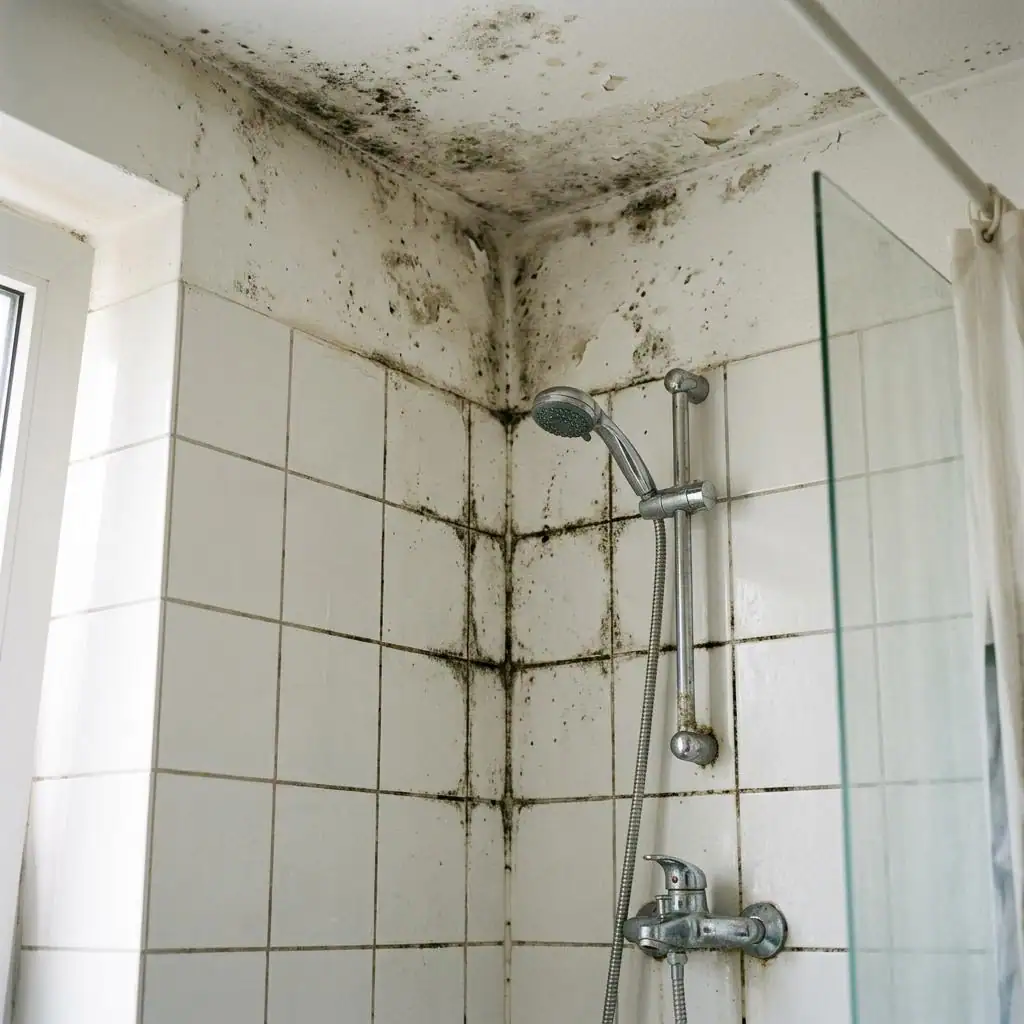
If your bathroom is on an upper floor, the ceiling directly below it is the first place to inspect. Even a small, slow leak from a shower pan or a toilet seal will eventually show as a discolored patch, bubbling paint, or peeling drywall. The same goes for rooms next to the bathroom, water can travel along joists or pipes before it drops. Look for any soft spots, flaking paint, or a musty smell that wasn't there before. A damp ceiling often means water has been pooling above the drywall for a while, and that creates the perfect environment for mold growth behind the surface.
Examine the Grout and Caulking Around Tiles
Grout lines and caulking seams are common entry points for moisture. Over time, grout can crack, crumble, or simply wear thin, especially in shower walls and floor corners. Caulking around the tub, sink, and toilet also ages and pulls away from surfaces. Run your hand along these joints, if you feel a gap or see a dark line where the sealant has separated, water can seep behind the tile. Once moisture gets behind tile, it can travel down the wall or under the floor, feeding hidden mold colonies. This is where a tile mold remediation service often finds the most damage: not on the surface, but inside the wall cavity. Keep an eye on any area where the caulk looks loose or the grout is missing, and reseal it promptly to stop water from getting in.
Watch the Base of the Toilet and Its Supply Lines
The toilet is one of the most common sources of hidden leaks. The wax ring or gasket that seals the toilet to the floor can fail, allowing a slow trickle of water to escape every time someone flushes. That water soaks into the subfloor, and because it is under the toilet, it can go unnoticed for a long time. Similarly, the flexible supply line that brings water to the toilet tank can develop pinhole leaks or loose connections at the shut-off valve. Check the floor around the base of the toilet for any dampness, discoloration, or a soft feeling under the tile. If the floor feels spongy, the subfloor may already be compromised. Also look at the water supply lines under the sink, a small drip from a compression nut or a cracked braided hose can cause similar hidden damage. Addressing these small leaks early can prevent the kind of extensive moisture that requires professional remediation.
Inspect the Shower Pan and Its Drain Assembly
Shower pans, especially those that are tiled or made of a single sheet of material, rely on a watertight seal around the drain. The drain assembly itself has a gasket and a clamping ring that can loosen over time. If the seal fails, water can pool under the pan and soak into the subfloor or the wall behind the shower. Look for any signs of water escaping around the drain, a small puddle that appears after a shower, or a dark ring around the strainer. Also check the caulking where the shower pan meets the wall. If that seal is broken, water can run down the back of the tile and into the wall cavity. In many cases, a leak in this area leads to mold behind the tile that is only discovered when the grout starts to discolor or the tile feels loose. For anyone facing that situation, moldremovalboston.org provides guidance on how professionals handle the drying and removal process once the source is found. Catching a shower pan leak early can save you from having to tear out tile and replace rotted framing.
Monitor the Water Meter and Pressure Fluctuations
Not every hidden leak is visible. Sometimes the only clue is a change in your water usage or water pressure. If you notice a sudden spike in your water bill without an increase in use, or if the toilet runs intermittently when no one has flushed, a slow leak may be present. You can do a simple test: turn off all water-using appliances and fixtures in the house, then check the water meter. If the meter continues to move, water is flowing somewhere it shouldn't. This method can catch leaks that are too subtle to show on surfaces. Combine this with a visual check of all accessible pipes under sinks and behind the washing machine, and you will have a better picture of whether moisture is hiding behind walls. A persistent hidden leak can saturate wall cavities and flooring, creating conditions that require a full tile mold remediation strategy.
Feel for Drafts or Temperature Changes Near Walls
Mold behind walls often develops in areas where moisture is present and the air circulation is poor. One indirect way to spot a potential leak is to notice excessive humidity or a damp feeling on the wall surface. If a section of the wall feels noticeably cooler than the rest of the room, it may be because water is evaporating from behind the drywall, cooling the surface. This is especially common around shower enclosures and along exterior walls. Run your hand along the wall after a hot shower, if a patch stays damp or feels clammy long after the steam has cleared, moisture may be trapped behind the tile. In that case, Mold Removal Boston Pros can assess whether the issue is a simple ventilation problem or a hidden leak that needs more involved repair. Early detection of these temperature signs can prevent the spread of mold to adjacent rooms.
Check for Unusual Sounds: Drips, Hisses, or Running Water
Your ears can catch what your eyes miss. A dripping sound inside a wall or under a floor is an obvious clue, but even a faint hiss from a toilet fill valve or a gurgling noise from a drain can indicate that water is moving where it should not. Listen carefully near the shower, toilet, and sink areas when the room is quiet. If you hear a steady drip, try to locate its source. Sometimes the noise comes from a pipe that is not fully sealed or a valve that is not closing completely. Water that drips inside a wall cavity will eventually saturate the insulation and drywall, creating a breeding ground for mold. Addressing these sounds quickly can stop the moisture from spreading and reduce the need for extensive remediation later.
Look for Efflorescence or Rust on Exposed Pipes
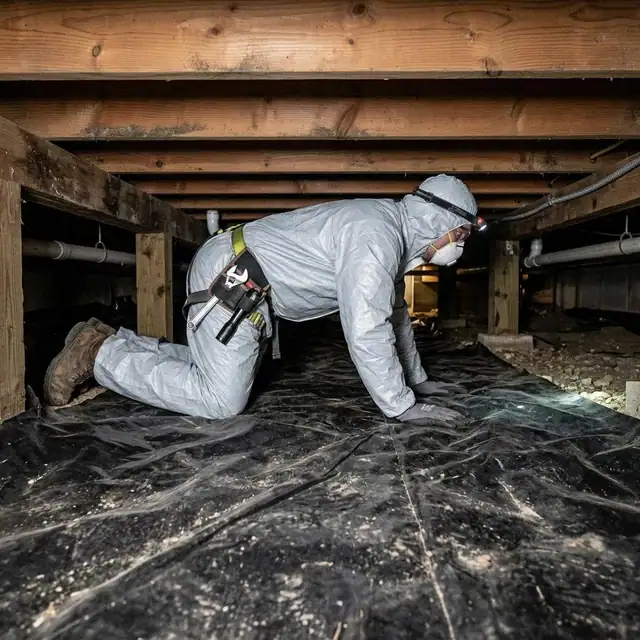
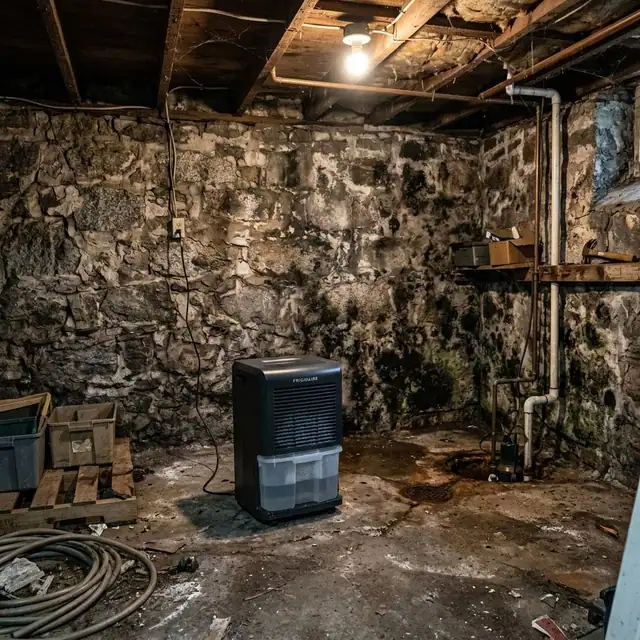
Efflorescence, a white, powdery deposit, can form on concrete or brick walls when water evaporates and leaves mineral salts behind. If you see this on the foundation or on the wall behind a sink or toilet, it suggests that water is seeping through the material. Similarly, rust on exposed copper or galvanized pipes indicates that moisture is present in the surrounding air or that a fitting is slowly leaking. These signs are especially telling in basements or crawl spaces under the bathroom. Rust and efflorescence are not mold themselves, but they point to the damp conditions that encourage mold growth. If you see these signs, it is wise to investigate further before the problem reaches the tile surfaces. For a thorough inspection, professionals like Mold Removal Boston Pros can check for moisture behind finishes and recommend the right course of action.
Use a Moisture Meter for a Definitive Check
A moisture meter is a simple handheld tool that reads the moisture content in materials like drywall, wood, and tile. It can detect dampness deep inside a wall or under flooring that no visual inspection will reveal. You can buy one at a hardware store or borrow one from a tool library. To use it, press the pins against the surface in several spots, especially near the base of walls, around the toilet, and along the shower pan. If the reading is consistently above 20 percent on wood or drywall, there is likely a leak or condensation problem. This tool takes the guesswork out of finding hidden moisture. Identifying a problem early with a meter gives you time to fix the leak and dry the area before mold takes hold. If the damage is already extensive, a service like moldremovalboston.org can advise on the best approach for remediation.
Conclusion
Hidden bathroom leaks are common, but with a little attention, you can catch most of them before they cause major damage. Check the ceiling below, examine the seals around fixtures, listen for drips, and use tools like a moisture meter when you suspect trouble. Each of these checks takes only a few minutes, and the payoff is a bathroom that stays dry and mold-free. When hidden moisture is found early, the repair is often simple, reseal a joint, tighten a fitting, or replace a gasket. But when it goes unnoticed, the same moisture can require a full tile mold remediation project that involves removing tile, drying out wall cavities, and replacing damaged materials. Regular inspections are the best way to avoid that scenario. Mold Removal Boston Pros focuses on addressing exactly these kinds of issues, and their approach starts with finding the source of moisture. By staying aware of the signs described here, you can protect your home and your health.